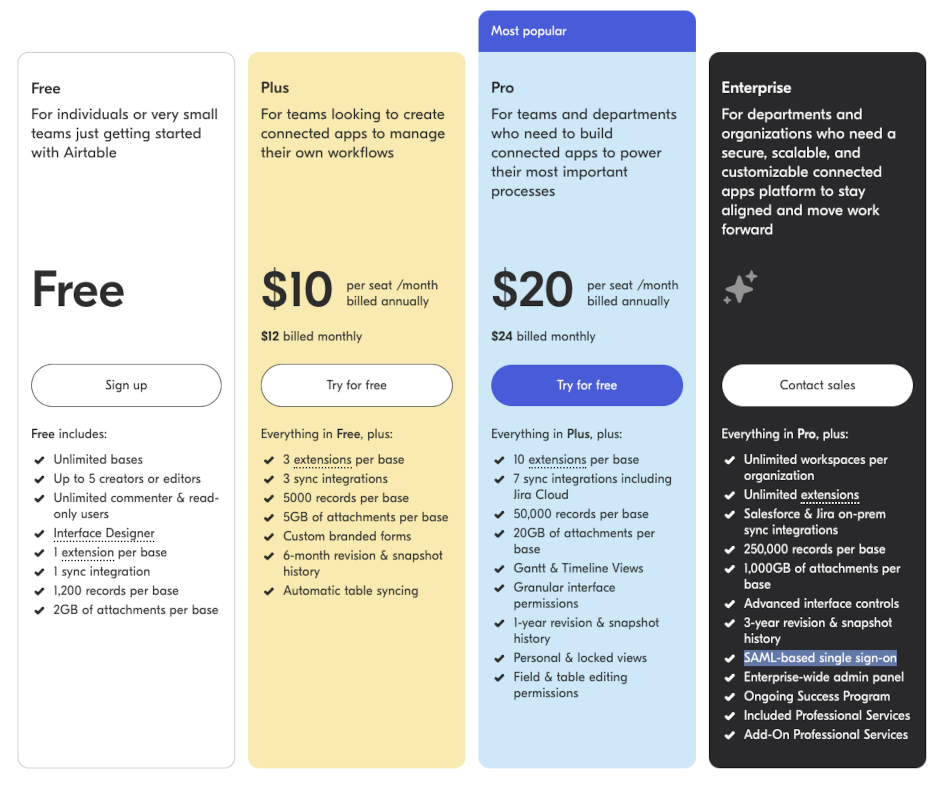
This article describes how to use your Keycloak or RedHat SSO as SSO for Airtable. Only available for the « entreprise » plan, you can add your own SSO to your Airtable organization.
SSO feature in Airtable
Airtable has in their « entreprise » plan a support of SAML Single Sign on.
The documentation explains how to proceed with Okta, Google, OneLogin, Azure AD ou ADFS. Let’s look how to integrate your Keycloak.
https://support.airtable.com/docs/configuring-sso-in-the-admin-panel
Create a client in Keycloak
Create a SAML client:
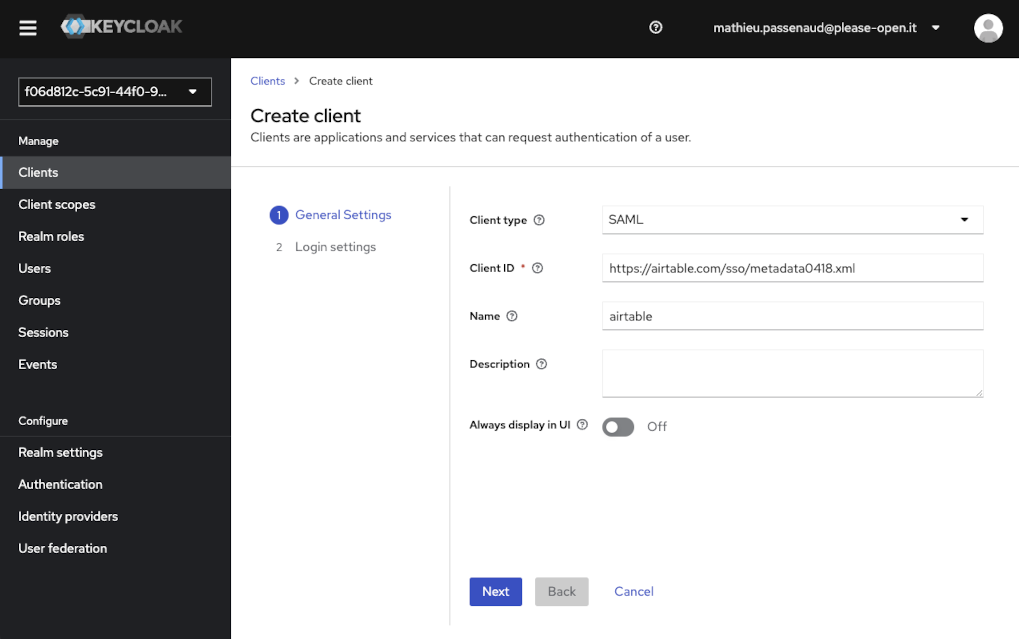
Important: the client ID must be « https://airtable.com/sso/metadata0418.xml » due to « Audience » restrictions Airtable need.
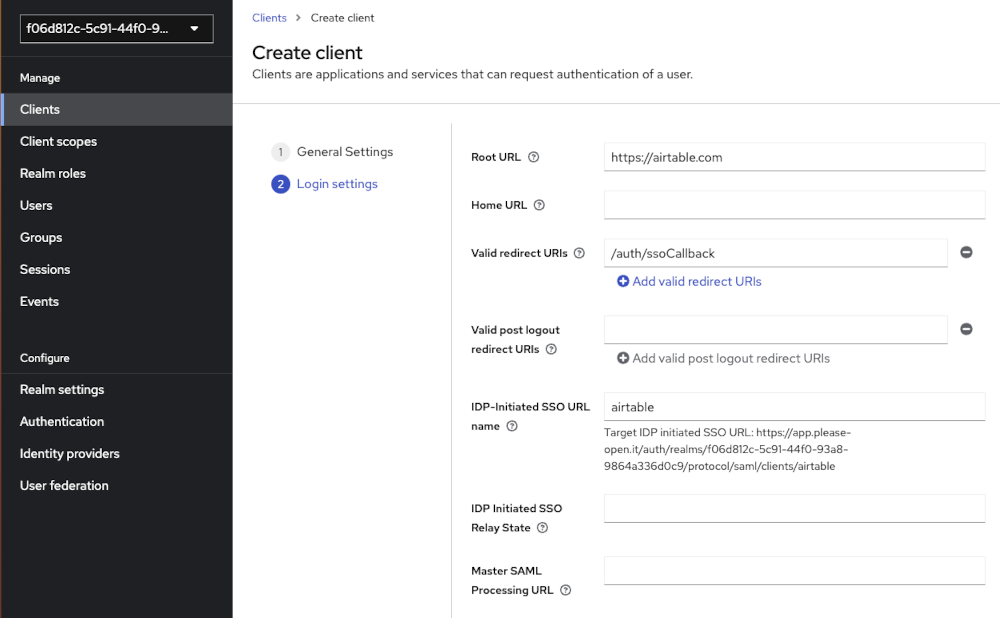
I filled the « IDP-Initiated SSO URL name just for having a simpler URL.
Get « Target IDP initiated SSO URL », we will use it later.
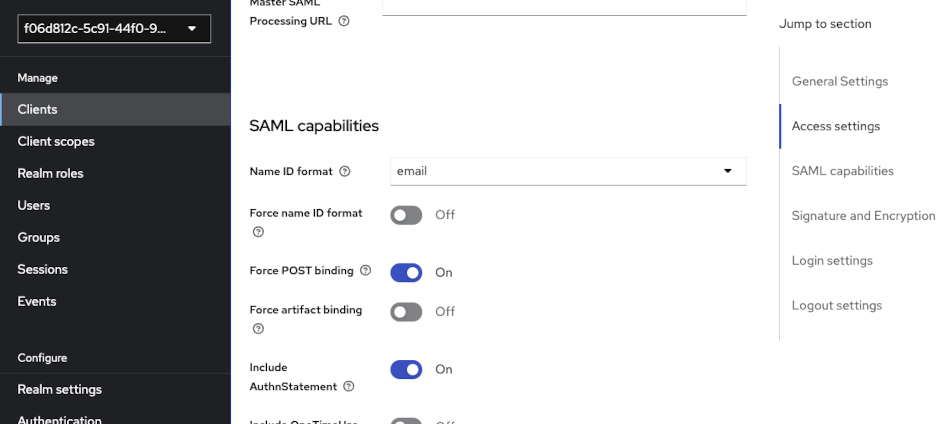
Airtable need email in NameID field:
Add a mapper for the Audience
In the new Admin UI in Keycloak, you have to open « Client scopes » section, then click on the first scope for custom mappers.
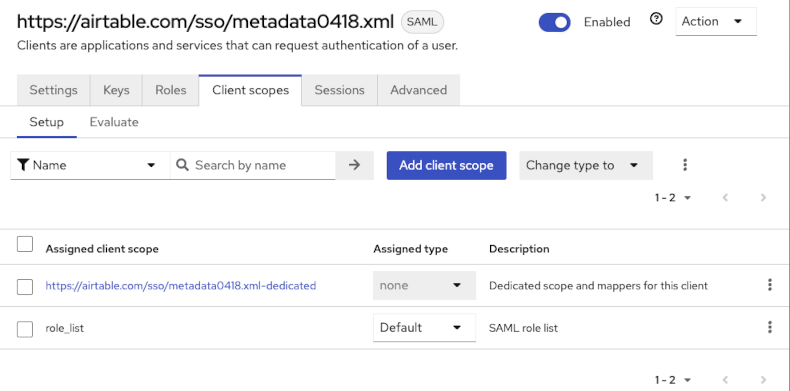
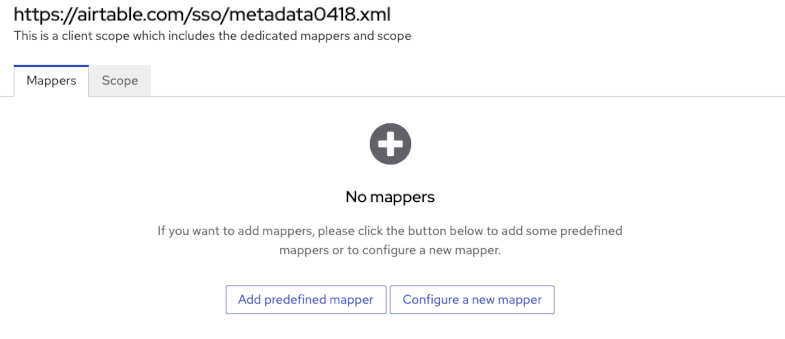
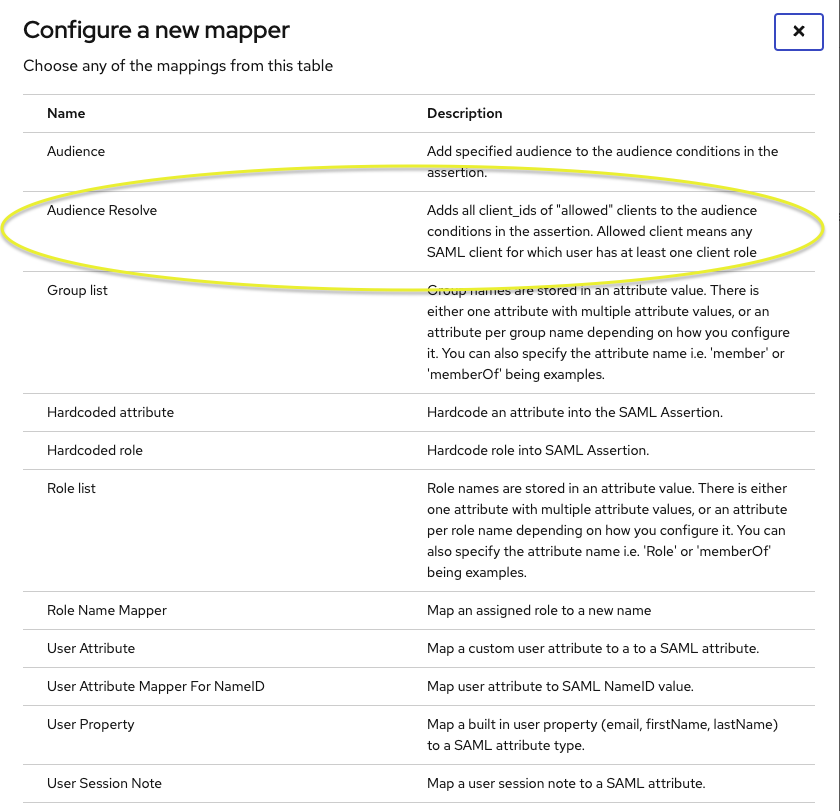
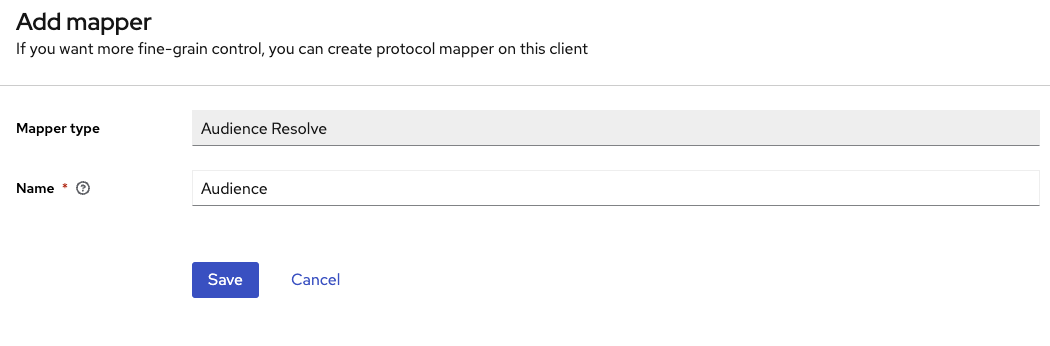
Then, define the mapper.
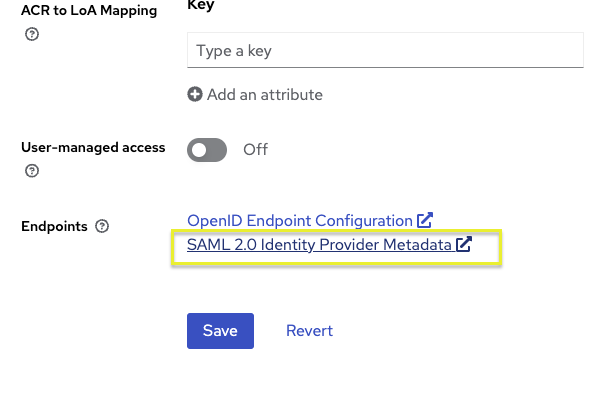
Get the cert
You have 2 choices :
- from the « realm settings », open « SAML 2.0 Identity Provider Metadata », then get the cert
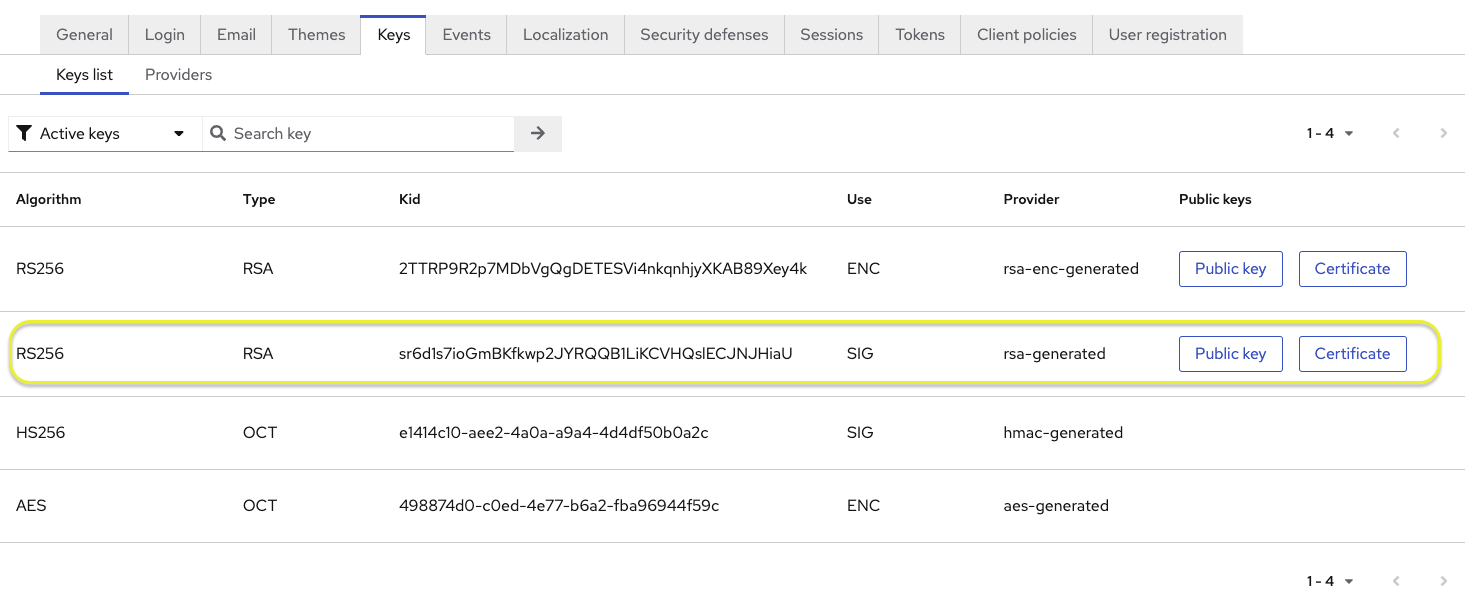
Or from « Keys », get the rsa key used for signature :
Register your SSO in Airtable
Go to « Add SSO identity provider », then:
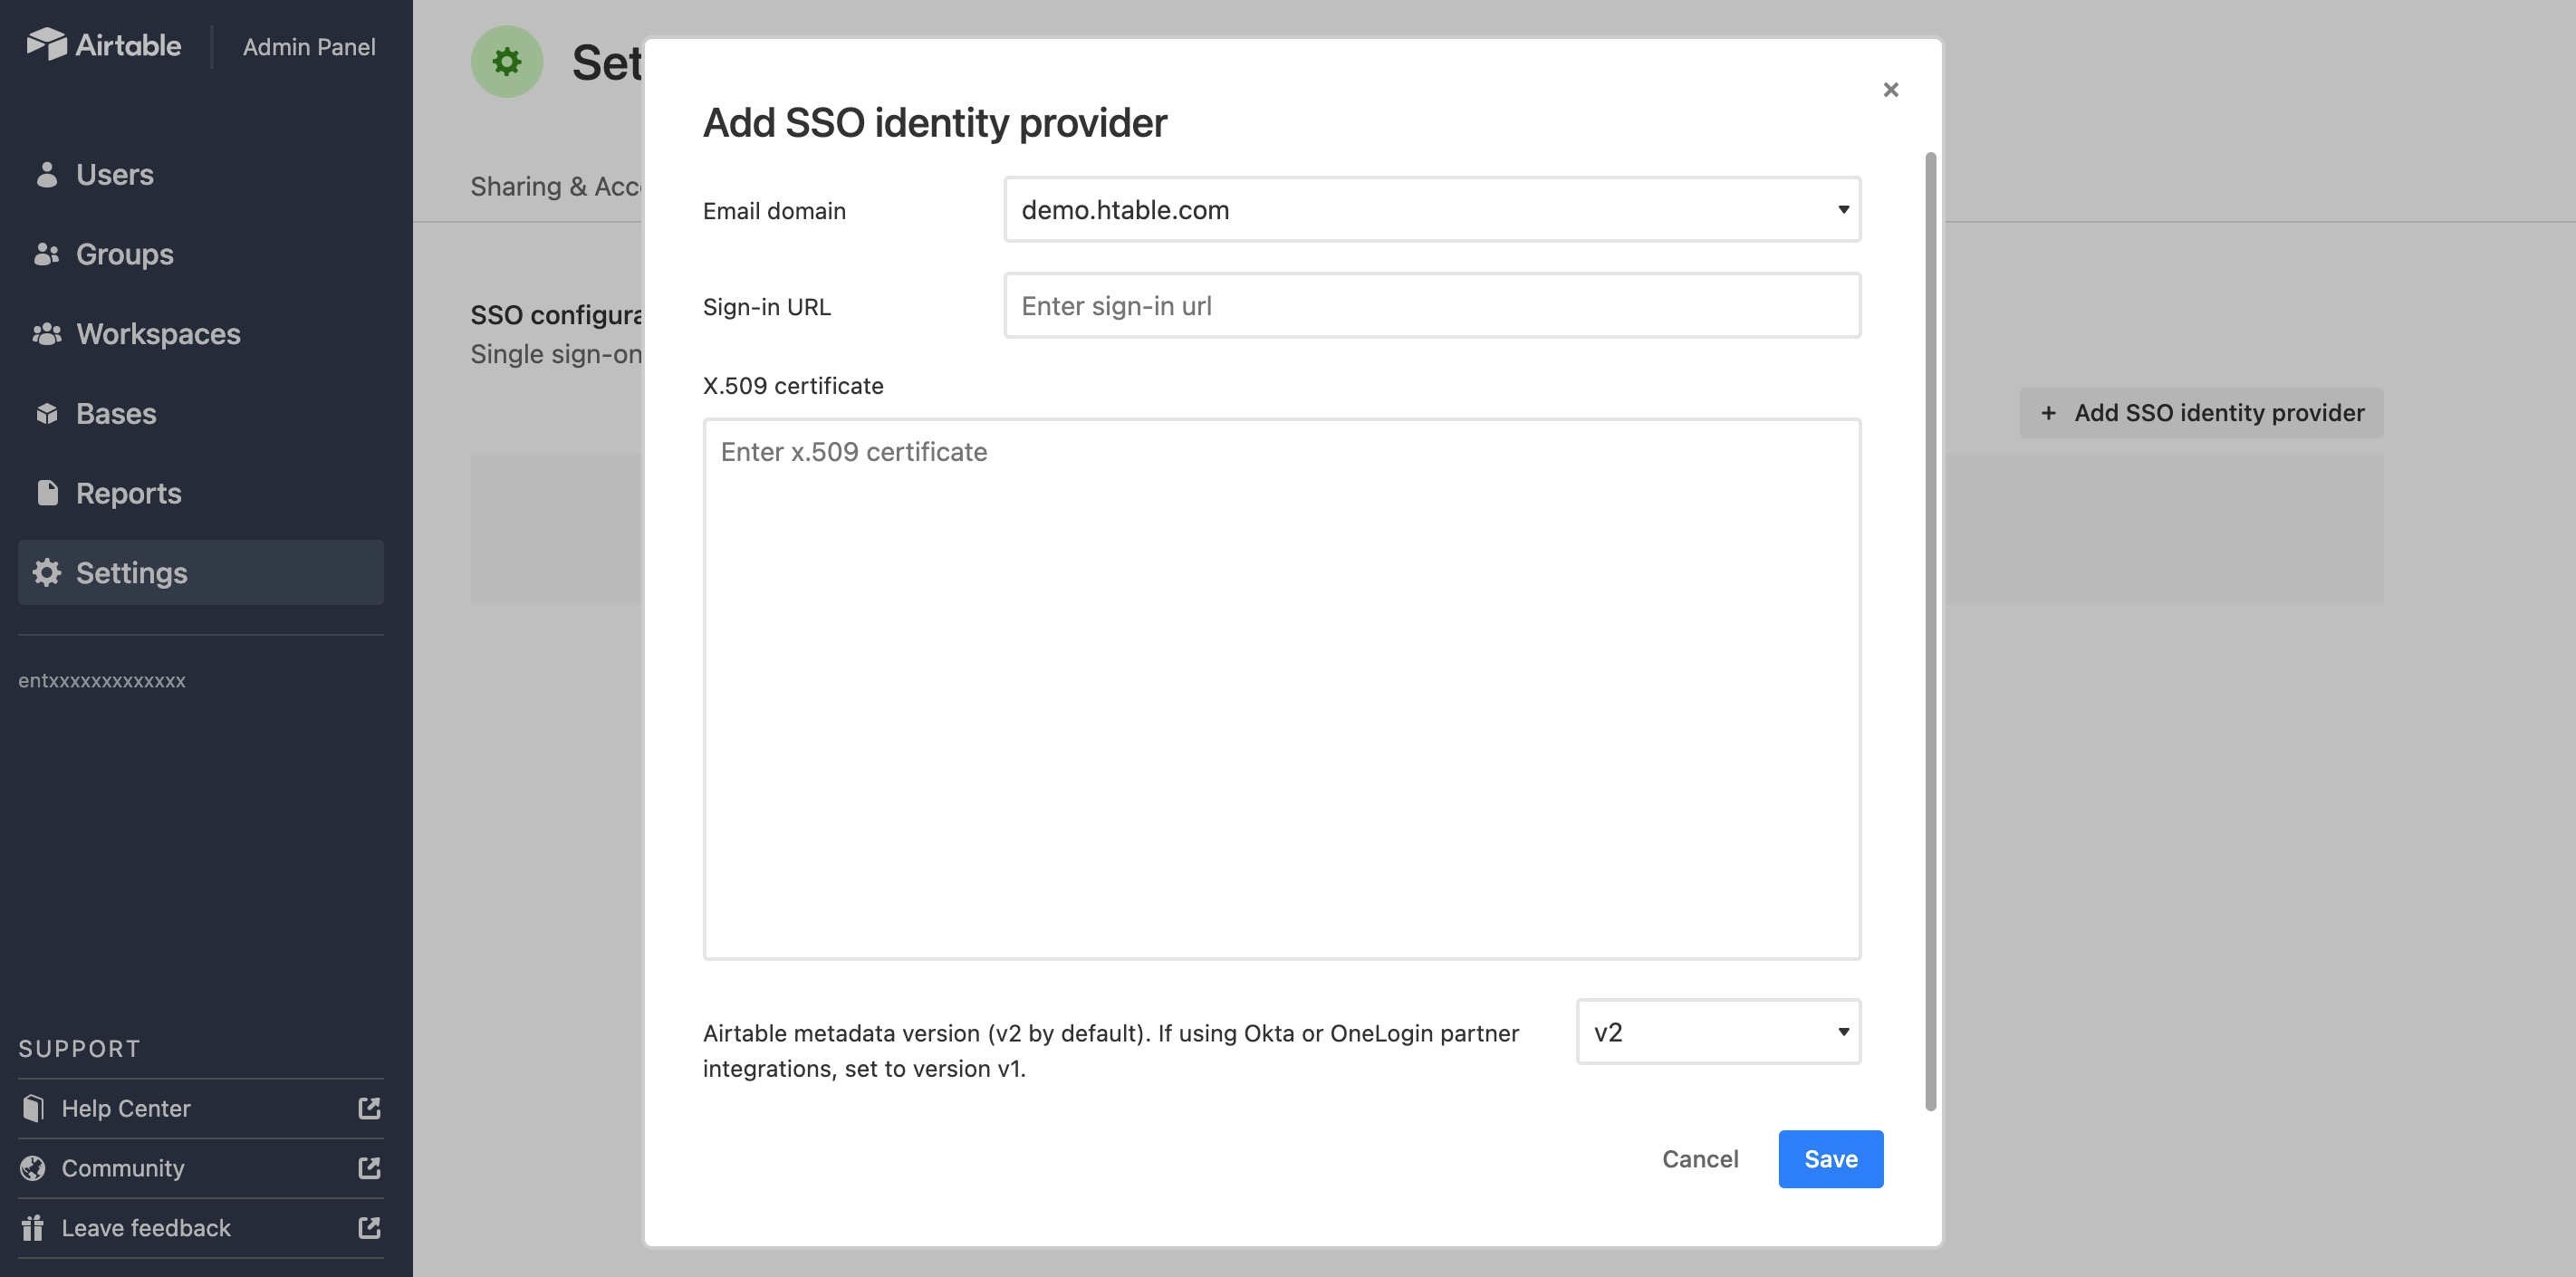
in the « sign-in URL », paste your « Target IDP initiated SSO URL » got previously.
in the X.509 certificate field, add your certificate between:
-----BEGIN CERTIFICATE-----
and
-----END CERTIFICATE-----
You’re done ! now your Keycloak is your SSO for Airtable!

Please-open.it is JANUA.FR's main partner. Specialised in IAM (security, access control, identity management) and Open Source integration, settled in 2004 by IAM industry veteran, Open-IAM (Janua.fr) offers high value-added products and services to businesses and governements with a concern for identity management and Open Source components.
Janua.fr, a trademark of Open-IAM is an IT services and business consultancy company, created in July, 2004, by SUN Microsystems identity management industry veterans. Janua IAM activity spinned-off in August 2025 to Open-IAM.
- Keycloak OAuth2-Proxy Configuration Generator: Simplify Your Reverse Proxy Authentication Setup - 26 janvier 2026
- Authentication Proxy: Simplify Authentication in Any Application - 24 décembre 2025
- How to make your custom workflow with Keycloak - 13 octobre 2025